Content submission accounts are reserved for current employees at Utah Valley University.
If you are an employee who needs an account, ask your manager to send an account creation request to [email protected] with your UVID number and department name.
If you have a content submission account in PlaySignage, go to the dashboard login page and click the "Log in with Microsoft" button. Be sure to use your "[email protected]" email address ([email protected].)
If you are a member of multiple PlaySignage teams, you can choose one at login, or you can click the "Switch Teams" button in the menu at the bottom left of the dashboard.
Signage playlists are like PowerPoint presentations; they are collections of (artfully composed) slides displayed in sequence. There are three types of signage playlists you will encounter at UVU: campus-wide, local-only, and shared. Content, expiration, and slide duration requirements for each type may be found on the Guidelines page.
Campus-wide playlists contain content meant to run across campus and at University-owned satellite locations. Each department is granted a 10-second timeslot on each of the three public signage formats.
At UVU, public playlists are marked by a leading "#" symbol in their names.
Local-only playlists run on a limited set of displays owned by a single department and do not run alongside public content. There are no expiration or slide duration requirements on private signage.
Shared playlists run alongside campus-wide playlists on a department's own signage displays. Screens typically run slides from shared and campus-wide playlists in an 8:2 ratio, so the department gets 80 seconds of screen time for every 20 seconds of campus signage.
Shared playlists are marked with a leading "@" symbol.
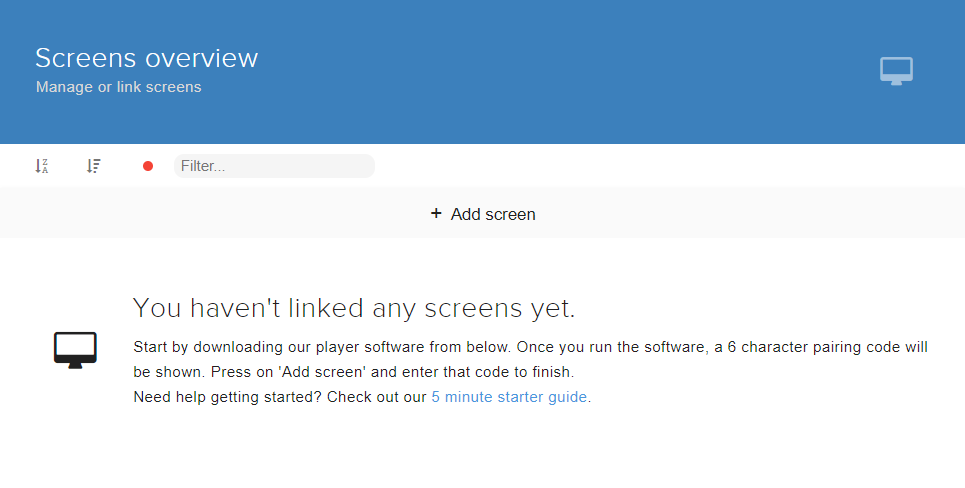
UVU's signage administrators manage your displays for you, so your Screens tab is likely empty.
You will upload content to your signage displays through the playlists the University has shared with you.
Please note that your signage publisher will only accept finished assets for approval, and will not create, modify, or compose them for you.
If you need professional services from University Marketing, please visit UVU Marketing website to get started.
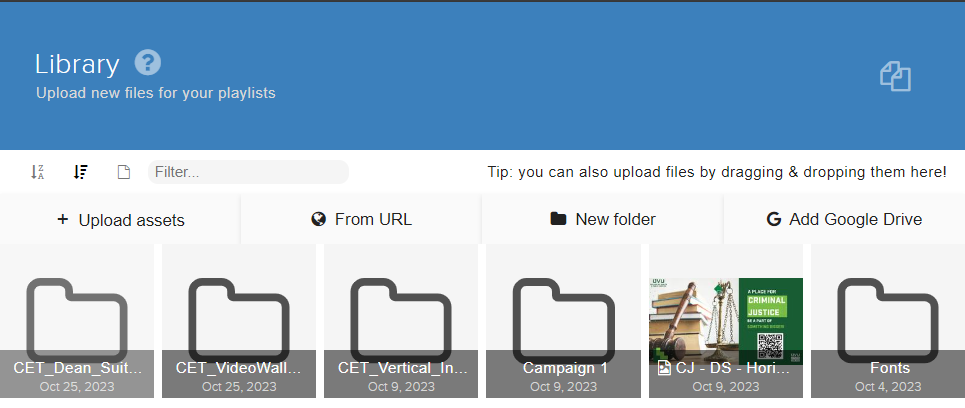
Note: The asset library is just a staging area for your team's content. You should keep backup copies of your media elsewhere.

Note: Your changes are automatically saved as you edit a playlist.
Also note that if more than one user simultaneously edits a playlist, PlaySignage will ask to refresh the page periodically.
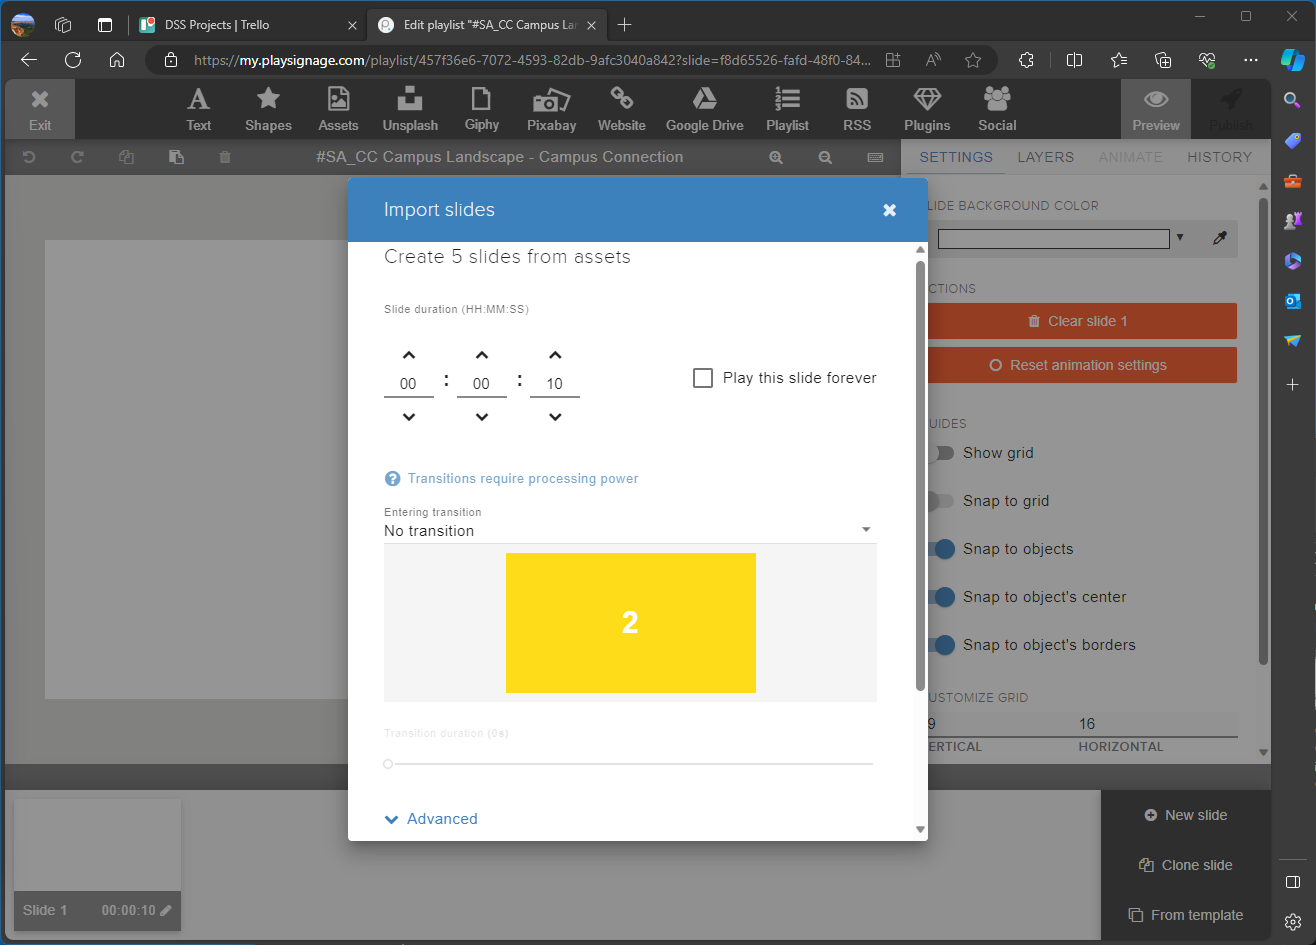
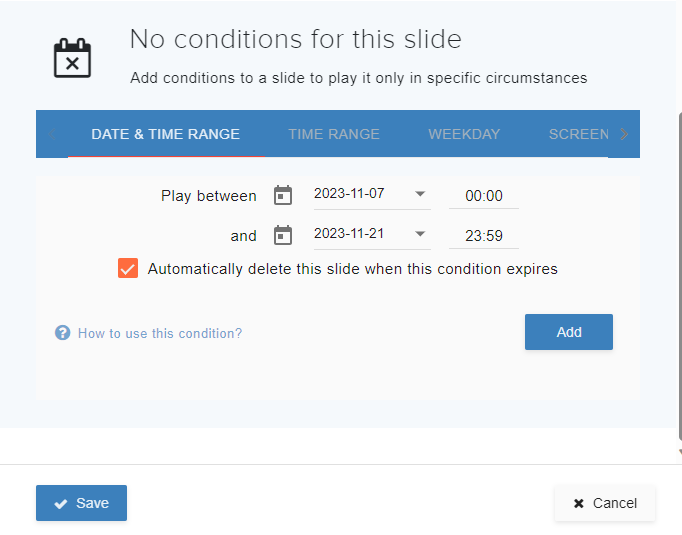
Campus-wide signage content can run for 14 days at maximum. If necessary, set the date and time range for each individual slide.
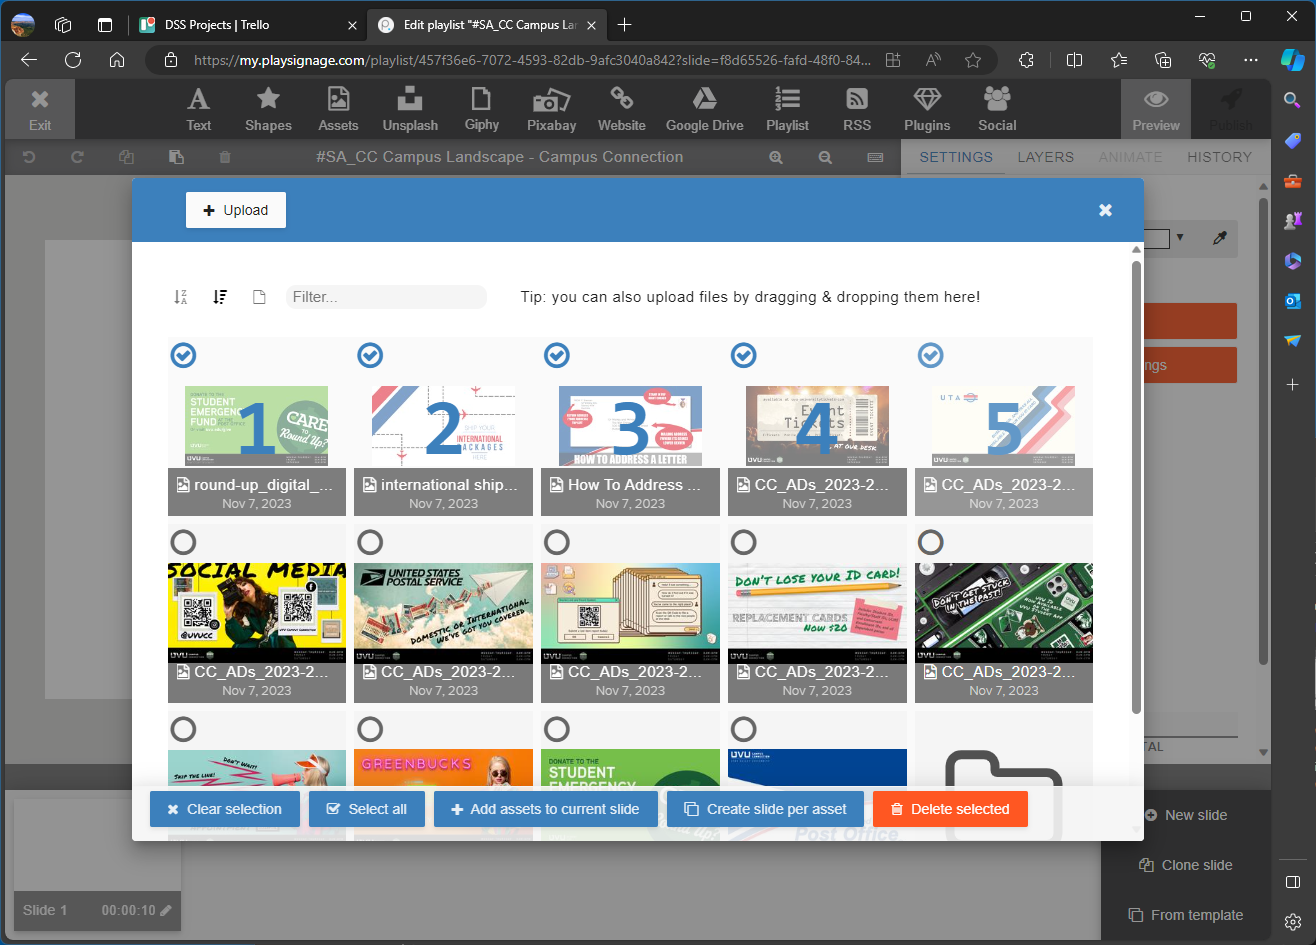
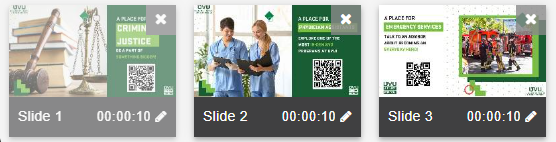
Note: There are four possible slide status indicators.
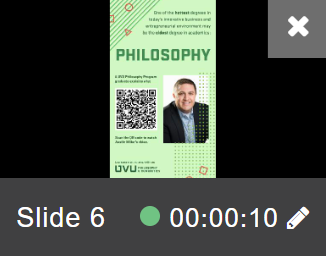
A green dot on a slide indicates that its run conditions are satisfied and the slide is currently running.
A red dot means that the slide has expired and is inactive.
A yellow dot indicates that the slide is currently inactive, but is scheduled to run in the future.
The absence of a dot means that the slide is active and will never expire.
 |
When you are ready to have your playlists published, send a message to your assigned publishers. If you don't know your publishers, you may send an email to [email protected] instead.
Please include the following in your approval request:
Allow three business days for your publisher to approve your changes. Expect a response confirming publication, or if there are issues with your request, a rejection notice with recommendations for fixing those problems. If your signage is time-sensitive, please submit it as early as possible to avoid missing any deadlines.
Thank you for submitting content to UVU's digital signage system!
If you have any questions about PlaySignage or UVU's digital signage infrastructure, please contact us.

